Wednesday, August 31, 2011

what's in a name...

I'm back, after a spell of the "feeling crummies", and the new semester starting, I finally got the time and energy to work on something. I actually started painting the paneling in the hallway, and I'll give you a sneak peek:
How awesome is that hallway looking now?! But more on that later; on to more important things...
Like I was saying, I finally got the energy to work on the nursery some more (even though I am STILL waiting on my combo unit from BRU, don't even get me started, grrrr.....) and I think it has turned out pretty marvelous so far! I finally told my wacky indecisive brain to just shut up and decided on the colors and patterns for the bug's Name Project and got the "MASON" done last night. Well, not done done, there is still a lot of embellishment work that needs to go on those letters, but then I got another idea, so I got sidetracked. Here's the Mason, and I'm sorry they are crooked, I haven't actually finished tying them yet, they're just sort of loosely hung up there (though they do look kind of cute all skewed like that, I mean, they are in a little boy's room) Don't mind the cute little animal decals either, those are getting moved over by the crib for reasons you will discover later:
And then I got to thinking, I really really wanted to do some kind of pennant, whether it be fabric or paper, but I couldn't really pin down anything that I was totally in love with. That's when it came to me. His middle name. See, at first, before I got the idea of making his Name Project, I was just going to buy a custom vinyl lettering and the company I was eyeballing included both the first name AND the middle name. But then after changing my mind (for the umpteenth time) I figured "Alexander" was too many letters to have each one on a 12x12 chipboard and fit it on the wall, and I nixed the "Alexander" thing. But anyways, back to when it hit me. If I had enough twine left over after hanging his first name, I could make an adorable little pennant garland and put his middle name on that! Fabulous idea! So once I pinned down how big they should be, I made a little stencil of sorts and cut some triangles out of some white paper I had laying around, just to play with first, before I started cutting into my cute scrapbook paper... and here's how it looks so far:
And yes, I realize that's not the world's best picture and you can't really see the pennants, I took that one at about 11 pm, I don't have the best lighting in that room right now, since it's still pretty much empty, and the little animal decals completely throw off the balance of his first name and middle name. But after I took this picture, I started working on the colors and patterns for the pennants and boy, do they look so cute! Especially after moving the decals and just having the pennants hanging against the white of the wall... it's pretty awesome, if I do say so myself. I don't have the letters glued down to the pennants yet, so stay tuned for another update when I get those finished.

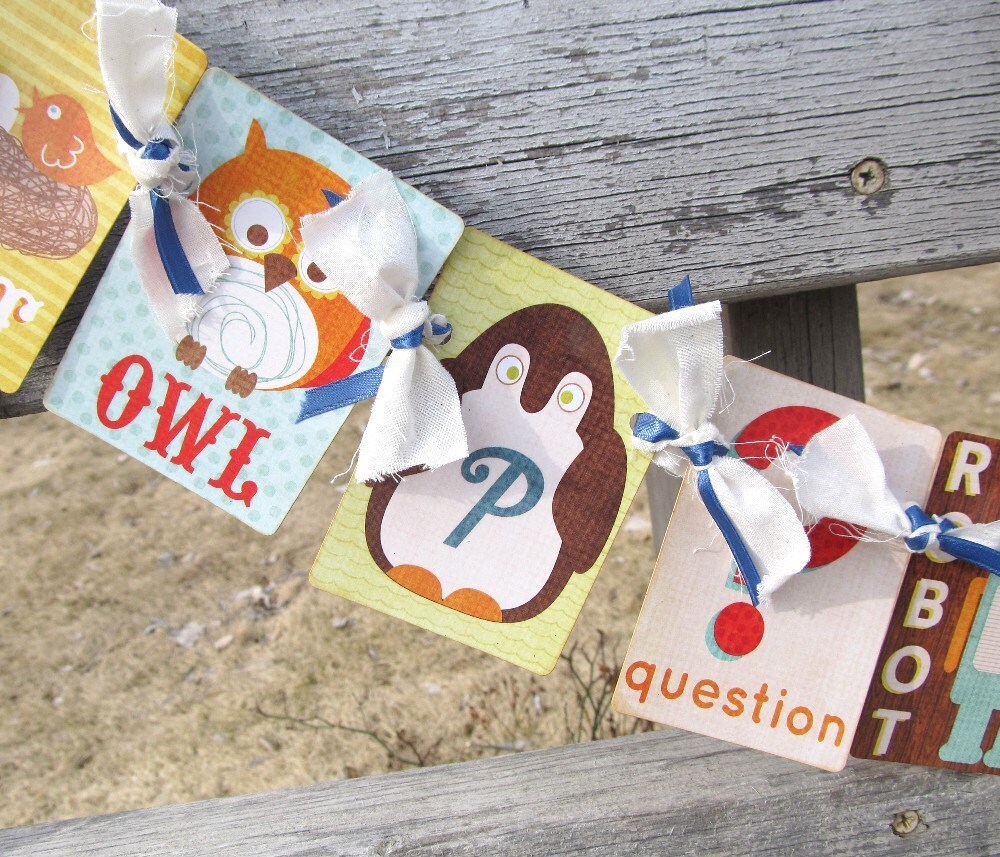
And next up on the nursery to do list? I need to start looking for curtains (or make them, who knows at this point) and I need to make a mobile. I was going to just buy the cute little turtle one that matches his bedding, but it's like 40 dollars and from what I hear (and can see from pictures of it) once the bug is in his crib, he will only be able to see the underside of the turtle. And if I'm going to have to take the time to deconstruct and reconstruct a mobile just to give the bug some visual stimulation, I might as well just make exactly what I want. And I'm also thinking of making a little something that will hang over his changing table to keep him sort of distracted... that's a good game plan, no? So here's my ideas so far, all courtesy of Pinterest:
This one is actually this etsy listing. How cute are those stars...

...and this cute little circle one...

...and oh my, how easy it would be to make one of these with little turtles instead on owls!

So needless to say, stay tuned... I've got a lot of little projects up my sleeve, and after realizing that I'm already at the beginning of my 8th month of pregnancy, I feel like I'm running out of time!

Wednesday, August 24, 2011

and now, the day you've all been waiting for...

...okay, so that may have been an exaggeration, but today was the day that I have been waiting for... the crib is here!

Here it is in all of its assembled glory...
and here it is with most of the bedding (the mattress is currently at my parent's house, so that will come later; but I haven't even washed the sheets yet, so it's all good), you get the idea. And how about those adorable little turtles? Love it...
and here it is with M's cute little stuffed animals that he's acquired already; the turtle is actually from Gma (my mom) and the lamby (goat? we're not really sure) is from Nana (Hubs' mom) both of which will, of course, be removed when M is here...
and now the only thing missing is our baby! And a mattress, I suppose.

Sunday, August 21, 2011

that's faux awesome...

Well, here it is... today is the day that I said "Sayonara!" to our terrible faux wood paneling.... I got the primer on. And a preggers safe, non-smelly, bonding primer at that (since an oil-based is way too odoriferous for me to safely use) all thanks to my favorite Lowe's paint guy (who I'm sure is sick of seeing me, by the way, I'm only in there like, every other day). And tomorrow, if Babies R Us hasn't called, we shall get two generous coats of flat white interior paint on top of this fabulous primer. Who am I kidding, even if BRU does call me and I come home with a crib and dresser, I will still get that darn paint on there.

So let's rejoice in the epic awesomeness that is this white primer on top of my faux wood paneling... because let's face it, who has faux wood paneling anymore? And just look at how much lighter the room feels after getting that white on there! (don't mind the curious cat trying to shove her fat body in that air duct =] )

cue the dramatic music...

The cabinets are done, the cabinets are done!! Look how awesome they are:
I do have to admit, I was a little freaked out by the color when I first started painting them but now, I absolutely love them! Especially with all of the hardware back on; the silver drawer and cabinet knobs really pop and bring out the color of the cabinets. So, the Cabinet Project has officially come to an end and it's on to the next one... the Wall Project. We still have yet to pin down the exact shade of yellow we want, but I might just start on painting over the paneling in the mean time.

I also made progress on some of the nursery stuff. For example, I checked on the status of the furniture and fingers crossed, I will be getting a phone call on Monday or Tuesday. And I worked on the Name Project a little bit more too. Now I've just got to figure out which wall I want to put them on. I got to thinking about the layout of the Alphabet Project and the Name Project, and the alphabet may have to be on the bigger wall, where the crib is supposed to go, to give me more room to spread it out. But we shall see when the furniture finally gets here...

Thursday, August 18, 2011

dishwasher? did somebody say dishwasher...

Ladies and gentlemen, here it is... Stage 2 of the cabinet project... the base cabinets finally got some love; so did the hutch and the fronts of the drawers. And the more Hubs and I look at the color, the more we like it. I think it's safe to say "Fired Earth" is growing on us. It's amazing how just a coat of paint on some old cabinets can totally transform a room.
The game plan for tomorrow after work is to get the cabinet doors painted so we can get our kitchen somewhat put back together... that is, until we rip the countertops off. You heard me, we're getting new countertops! I am finally getting rid of those horrendous golden speck counters!

In other news, Hubs said the magic word today... dishwasher. That's right. We do not currently have a dishwasher, nor has he ever had one in this house, and it's about darn time we think about putting one in. So what does the Hubs do after says the magic word? He gets out the tape measure and measure the counters to see if we have room. But we already know the answer to that, because this isn't the first time we've talked about putting one in... but there IS room for one. OH MY FREAKING GOSH! I want a dishwasher!!!

And in other other news, the color scheme for the kitchen has officially changed. I wasn't quite sure how Hubs would feel about bright colors on the walls, so I went with my neutral plan in my head... but what other magical words does he say tonight? He says, "How are you going to bring bright color in?" YAY! So that did it, I grabbed the paint samples and told him to pick one he liked and we'll go from there. And what did he decide on, you ask? None other than...
"Top Banana"
I know, the digital sample looks super crazy, but the paint chip (which in our experience, we've come to find out is like, 100% accurate with how our finished product looks) is a little more muted, but still really bright and cheery. I am just so excited, I'm bursting at the seams! I can't wait to get the banana paint and look at countertop samples/colors and pick out a dishwasher!!! And now my search is on for some cheery contact paper/drawer and cabinet liners/just regular paper that I can line all my cabinet shelves and drawers in.

And do me a favor, cross your fingers and hope that Babies R Us calls me tomorrow to let me know that my nursery furniture is in =]


Wednesday, August 17, 2011

i must be crazy...

I don't know what y'all like to do when you get home from a long day of work, but this girl right here? This crazy pregnant lady? Apparently, she really likes to paint. But seriously, I do love to paint. And when I got home yesterday, I said to the Hubs, "Man, now that we've started talking about it, I really really wanna paint the kitchen cabinets." And what does he say to that? "Then go get the paint." So I did. And that, my friends, is how I spent the evening last night. Painting my kitchen cabinets.

See what it looked like before?
And the other side, with the corner hutch and table?
Well, I grabbed a bunch of paint samples at Lowes the other day (I swear, someone just needs to buy/give me a bunch of paint decks, so I can have all of the colors right here at my fingertips, instead of having to make a billion trips to Lowes just to get samples). And I show them to the Hubs, and we pick a color we like and that's what I purchased. I kind of had a color scheme going on in my head, dark cabinets, light brown/tan-ish walls, bright white on the paneling. I guess it looked kind of like this:

The cabinets ended up looking a little bit more grey than espresso, like I originally had in my head, but I'm just gonna work with it. I think part of the reason why I'm not really crazy about it right now is because the walls are still really dark, so now our sad little kitchen looks like a sad little dungeon kitchen. Which is the OPPOSITE of what I'm going for here. But anyways, here's what I have done so far, just the frames of the upper cabinets (I suppose I wanted to make sure I liked it before I painted everything) and we'll just call this "Stage 1":

And what does all this mean? It means that when I get home around 6 o'clock tonight, I'll be painting the base cabinets and all the doors. Woohoo! And it also means stay tuned... I'll be back with Stage 2 pictures.

Monday, August 15, 2011

drool fest...

I've been bad and haven't posted in like, a billion days. Okay, so more like a week, but same difference. I suppose it doesn't really matter, because not a whole lot has been going on. I was feeling sick the majority of last week and even today I'm still not feeling 100%. But let's see.... what have we been up to lately?

Went to the baby doctor last week and doc says all is well with the little Bug (that's my nickname I finally settled on, "Bug") and according to the doctor, he is measuring exactly where he needs to be at. So I'm not quite sure where the NP got her "two weeks bigger" number from, but apparently everything is going according to plan for a November 12 baby. That doesn't mean that we still don't have a hunch though. Hubs even said the other day at our friends house, "We're gonna have a Halloween party and just wait, we'll either be in labor or he will already be here by then!" Yep. That's my guess. He'll be a Halloween-ish baby. Which would be okay with me, I love Halloween!

I'm still trying my hardest to wait ever so patiently for Babies R Us to call and inform me that my nursery furniture is here. Because let's be honest, it's about time! It has officially been over a week and I'm really hoping it doesn't take the full 14 days that they quoted. Because I'm super impatient about these kinds of things... And since I don't have my furniture yet, I haven't even touched my projects (the Name Project and the Alphabet Project) because I need to see how the room looks with the crib and dresser in it before I can proceed.

So, I can hear you asking, what is it that you have been doing? Well, lately, as I'm trying to tackle the bigger things on my to do list, it seems that the little tedious, "unimportant" things have been multiplying tenfold. So in all my "sickness" and being lazy, I've gotten a head start on vanquishing those pesky little tedious projects. Like getting the calendar updated, and getting a new bill organizer so I can easily keep track of what's been paid and what I need to file; and I stole Sherry from Young House Love's idea and got a sweet little binder to keep all my magazine tear outs in (tear outs from decorating and home magazines that I really like, paint ideas, furniture, etc) so they don't end up all over the place; and I started cleaning out the junk closet in the boy's room. (Yes, their room is technically the "master suite" and it has two closets, so, of course, one has been designated the junk closet) I got all of the papers and whatnot filed away neatly, and started getting rid of stuff - i.e. take to Goodwill, try and Craigslist, maybe Freecycle. And that's actually about all I've gotten done. I know, I'm lazy, I just haven't had much energy to do anything lately. However, we did get the last of the holiday decorations, like my random Christmas and Halloween stuff, pulled out of the junk closet and tucked away neatly in the attic. Along with some other shtuff that the Hubs cleaned out of the garage and put up there, like old camping equipment and old school books (but only until I get my bookshelves up in the front room, then we'll have some sort of little library started).

And besides putting stuff in the attic, I've been having a major drool fest over certain things I would like for the house. I think I might just start a little "wish list" for gift ideas like my birthday, Christmas, etc. But just to give you an idea, here's what I've been drooling over lately:
This fabulous, shiny little leaf bowl from Z Gallerie... it needs a new home on my kitchen table.


And I do realize that it's only August, but fall is my absolute favorite time of year, and these little beaded pumpkins and gourds (also from Z Gallerie) are to die for. By the way, if you love fall and Halloween as much as I do, then Z Gallerie is for sure the place to check out for decorations. Their Halloween deco is AH.MAZE.ING. Not cheapo, plastic, little kiddy decor, hardcore awesome "grown up" decor, which I love love LOVE.


And lately I've been trying to find a new bedding set; I want to redo the bedroom and lighten it up just a little bit. I really want to keep the blue-ish theme, but more of a teal-ish blue? I'm not sure, but what I do know is that I have found several bedding sets that I am in love with:
This darling little set from West Elm would look awesome with our existing dark chocolate brown blackout curtains (which are expensive, so I really don't want to have to replace them) and it's 100% organic cotton!
And of course, they would have just added this lovely little set, which looks awesome with their choice of blue!

And there are many, many more things that I would love to have, but you'll have to just check out the wish list page, once I get it updated, which is one of the bajillion other things on my "Tedious To Do" list, along with getting the site updated... I know, scold me....

Thursday, August 11, 2011

let's get crafty...

Good morning, sunshine! As I promised last night, I come to you with all the good details of the upcoming project. I don't even know what to call it, except for it's going to be his name on the wall? Well, that makes sense. Okay, that's what we'll call it - "The Name Project".
(more on "The Alphabet Project" later, I don't have all my supplies for that yet.)

I've been in to Archiver's every day for the past week... first I was just browsing, trying to get some ideas; then I was drooling over all the awesome stuffs and thingys in there that would like a new home at my house; then I got down to business. So, as we've already mentioned, I'm drawing my inspiration from these two pictures:
This adorable little alphabet garland
And this adorable take on hanging letters on the wall

That second picture? That was the first picture that sparked any sort of ideas I now have for the baby's room. I know that everyone is putting their babies' names on nursery walls, but I didn't just want to slap some vinyl decals on the wall and call it a day; after I saw both of these pictures, I figured out how to make it a little bit more "classy" and a lot more personal... I'm gonna make it. So, on to the goodies!


I got this awesome tool called the "Crop-A-Dile" that sets eyelets/grommets and even punches little perfectly shaped holes for about 35 bucks (it came with case and all those tiny little eyelets around it, versus 25 bucks for just the tool) And some super cute, larger metallic eyelets to use in the corners of each piece for about 2 bucks a pop.

And let me just tell you about the paper... Oh my goodness, the paper. There is a reason why I only go in that store on my lunch break at work. If I went in there with no time restraints, my bank account would be toast! But I was a good girl, and even though there were lots of cute baby boy things that I want to buy for his scrapbook, I only bought what I needed for my current project =]


  I snagged some awesome solid colored cardstock for uber cheap, thanks to the wonderful little sales associate that gave me coupon even though I didn't have mine with me (she was preggers too). And that second picture? The one with all the lines and curly-q's? Oh yea, those are STICKERS! So you no longer have to cut and glue down your own fabulous borders, you just stick em where you want em! But that patterned paper is what steals all of my money. I wish you could just see all of it! It's all so cute! And 90% of all of that patterned paper is reversible, so there are TWO awesomely cute prints on each one! And I got three packs of chipboard that will be the "backbone" of each page, and kind of reinforce the durability of them. They are going in a little boy's room, after all.

But enough about paper and such, the best part is... I borrowed my momma's Cricut electric cutter! How sweet is she, letting me borrow her uber expensive scrapbooking stuff =]

So, here's what I accomplished last night, with my newly gathered supplies:
I played around with the Cricut machine and this was the first thing that I cut, just a trial run to see how everything works. And how fitting that I just happened to grab a random piece of Halloween paper, covered in monsters. M is for monster! =D

And then I put in the Cricut cartridge that has the turtle on it, and cut out this adorable little goober. Too stinkin cute.

And do you know how long it took me to do all of this? Like 2 minutes! Here's how ya do it:

Step 1: Pick your cartridge, insert said cartridge into machine, lay keypad over buttons, power on.

Step 2: Align paper in correct corner on sticky mat, slide mat up to bar, press "load paper".

Step 3: Decide which shape you want, press button for said shape, press "cut", watch the magic unfold.
 
Step 4: Press "unload paper" and voila! You have a perfectly cut shape!


And for more fun craftiness, we'll set an eyelet in a piece of chipboard... cause that only takes like, 30 seconds too.
Boring chipboard before:

Step 1: After selecting which eyelet you want, make sure the top and base are on the correct size setting.


Step 2: Insert eyelet the correct way (as pictured on the top presser), position where you want the eyelet to go, and press down firmly.

Step 3: Marvel at your fabulously set eyelet, and your page/paper/etc that is now ready for action (hanging, in my case, with ribbon)

And that's all the craftiness I have for you this morning. But rest assured, there will be more tonight!