Good morning, sunshine! As I promised last night, I come to you with all the good details of the upcoming project. I don't even know what to call it, except for it's going to be his name on the wall? Well, that makes sense. Okay, that's what we'll call it - "The Name Project".
(more on "The Alphabet Project" later, I don't have all my supplies for that yet.)
I've been in to Archiver's every day for the past week... first I was just browsing, trying to get some ideas; then I was drooling over all the awesome stuffs and thingys in there that would like a new home at my house; then I got down to business. So, as we've already mentioned, I'm drawing my inspiration from these two pictures:
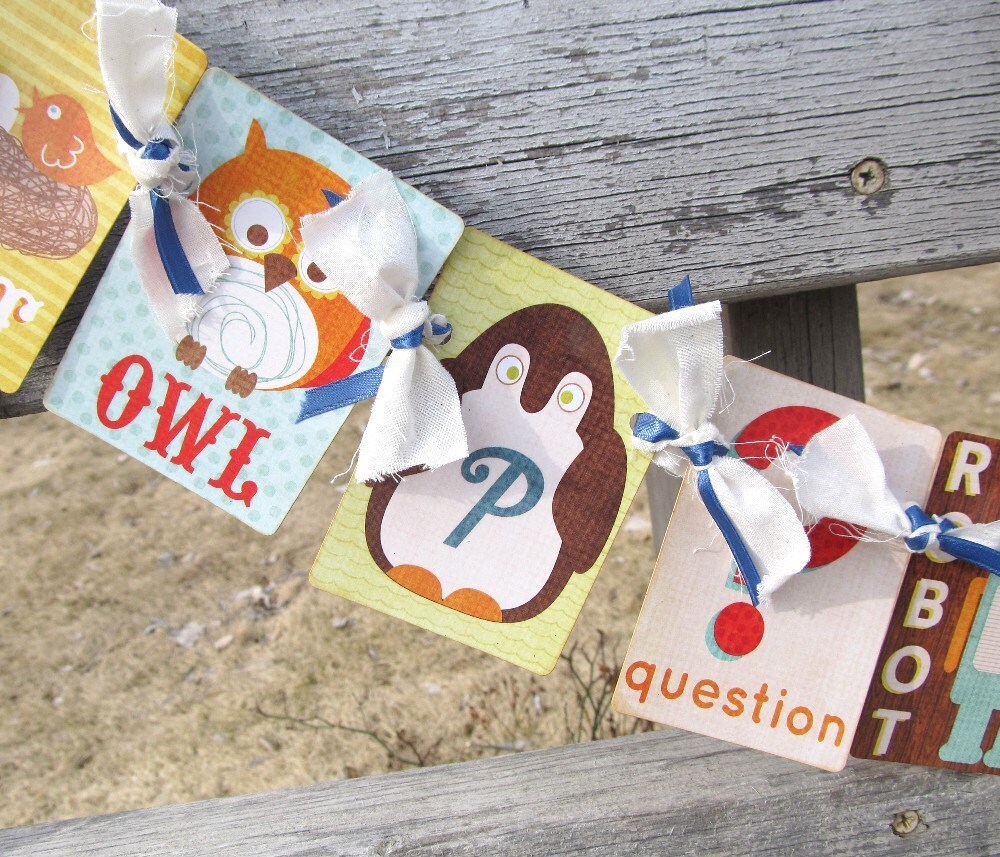 |
| This adorable little alphabet garland |
 |
| And this adorable take on hanging letters on the wall |
That second picture? That was the first picture that sparked any sort of ideas I now have for the baby's room. I know that everyone is putting their babies' names on nursery walls, but I didn't just want to slap some vinyl decals on the wall and call it a day; after I saw both of these pictures, I figured out how to make it a little bit more "classy" and a lot more personal... I'm gonna make it. So, on to the goodies!

I got this awesome tool called the "Crop-A-Dile" that sets eyelets/grommets and even punches little perfectly shaped holes for about 35 bucks (it came with case and all those tiny little eyelets around it, versus 25 bucks for just the tool) And some super cute, larger metallic eyelets to use in the corners of each piece for about 2 bucks a pop.

And let me just tell you about the paper... Oh my goodness, the paper. There is a reason why I only go in that store on my lunch break at work. If I went in there with no time restraints, my bank account would be toast! But I was a good girl, and even though there were lots of cute baby boy things that I want to buy for his scrapbook, I only bought what I needed for my current project =]


I snagged some awesome solid colored cardstock for uber cheap, thanks to the wonderful little sales associate that gave me coupon even though I didn't have mine with me (she was preggers too). And that second picture? The one with all the lines and curly-q's? Oh yea, those are STICKERS! So you no longer have to cut and glue down your own fabulous borders, you just stick em where you want em! But that patterned paper is what steals all of my money. I wish you could just see all of it! It's all so cute! And 90% of all of that patterned paper is reversible, so there are TWO awesomely cute prints on each one! And I got three packs of chipboard that will be the "backbone" of each page, and kind of reinforce the durability of them. They are going in a little boy's room, after all.

But enough about paper and such, the best part is... I borrowed my momma's Cricut electric cutter! How sweet is she, letting me borrow her uber expensive scrapbooking stuff =]
So, here's what I accomplished last night, with my newly gathered supplies:

I played around with the Cricut machine and this was the first thing that I cut, just a trial run to see how everything works. And how fitting that I just happened to grab a random piece of Halloween paper, covered in monsters. M is for monster! =D

And then I put in the Cricut cartridge that has the turtle on it, and cut out this adorable little goober. Too stinkin cute.
And do you know how long it took me to do all of this? Like 2 minutes! Here's how ya do it:
Step 1: Pick your cartridge, insert said cartridge into machine, lay keypad over buttons, power on.


Step 2: Align paper in correct corner on sticky mat, slide mat up to bar, press "load paper".

Step 3: Decide which shape you want, press button for said shape, press "cut", watch the magic unfold.


Step 4: Press "unload paper" and voila! You have a perfectly cut shape!
And for more fun craftiness, we'll set an eyelet in a piece of chipboard... cause that only takes like, 30 seconds too.
Boring chipboard before:

Step 1: After selecting which eyelet you want, make sure the top and base are on the correct size setting.


Step 2: Insert eyelet the correct way (as pictured on the top presser), position where you want the eyelet to go, and press down firmly.


Step 3: Marvel at your fabulously set eyelet, and your page/paper/etc that is now ready for action (hanging, in my case, with ribbon)

And that's all the craftiness I have for you this morning. But rest assured, there will be more tonight!
No comments:
Post a Comment